
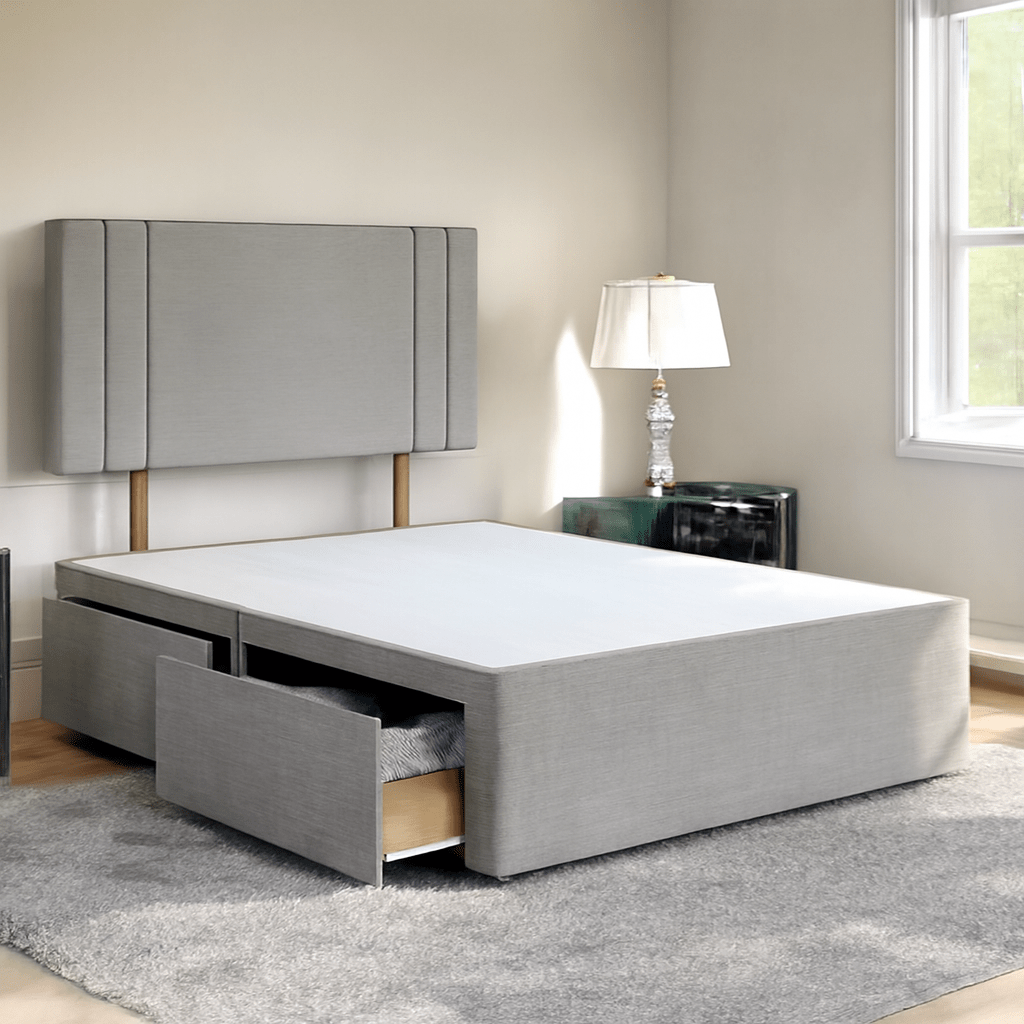
Divan Beds Assembly
For your convenience we have included detailed instructions for assembly. Please click below and follow the instructions and if you have any questions, please feel free to get in touch and one of our friendly staff will be happy to help.
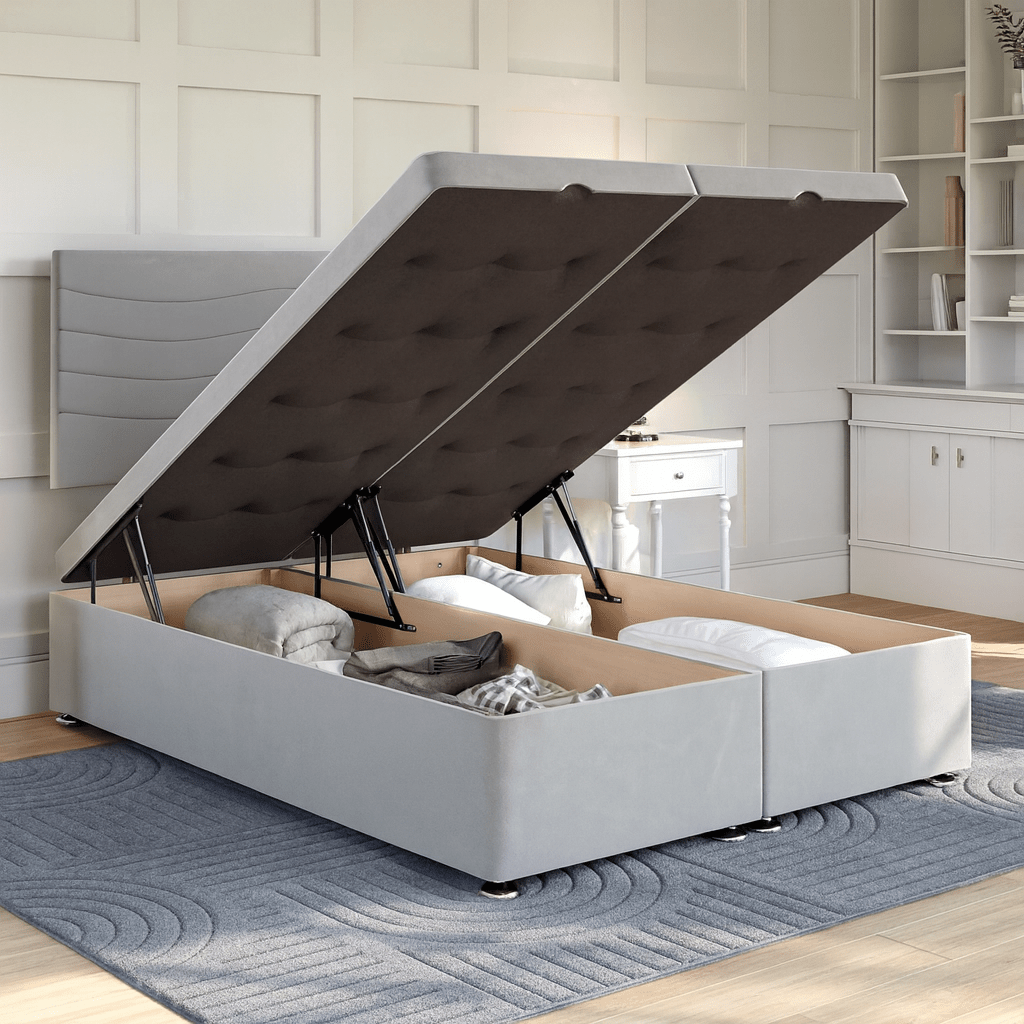
Ottoman Beds Assembly
For your convenience we have included detailed instructions for assembly. Please click below and follow the instructions and if you have any questions, please feel free to get in touch and one of our friendly staff will be happy to help.

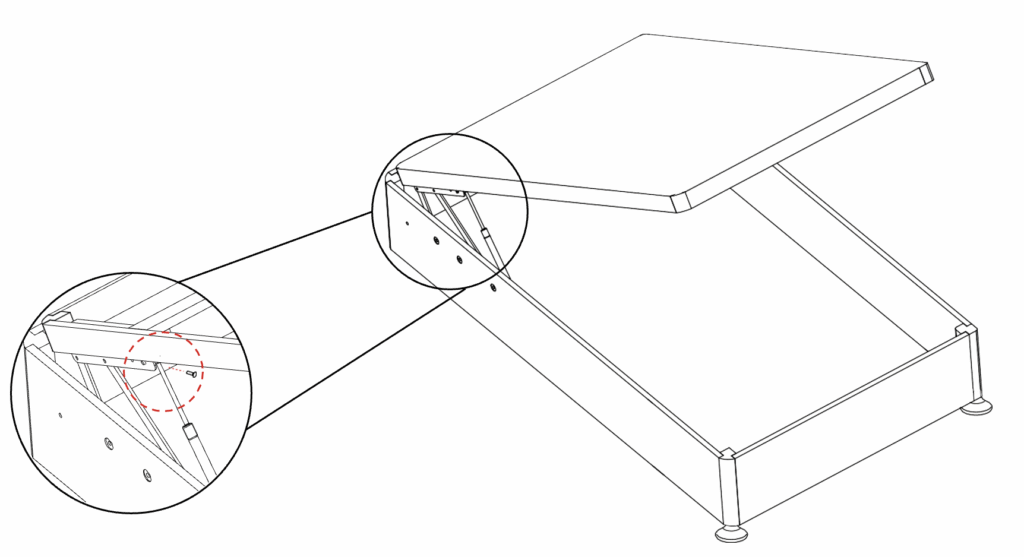
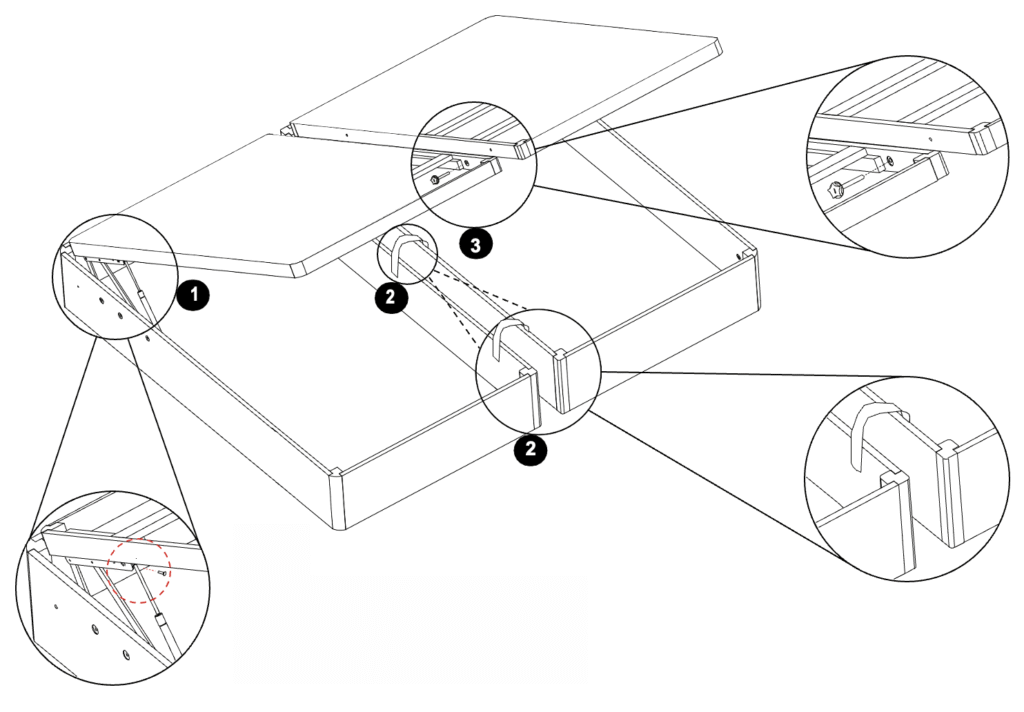
STEP 1: Unscrew the silver nut on the inside of the lid-bracket. Align the detached-end of the hydraulic-part, place the piston head to re-screw the nut through the hydraulic piston head and attach onto the lid-bracket. Repeat this for all hydraulic bars.
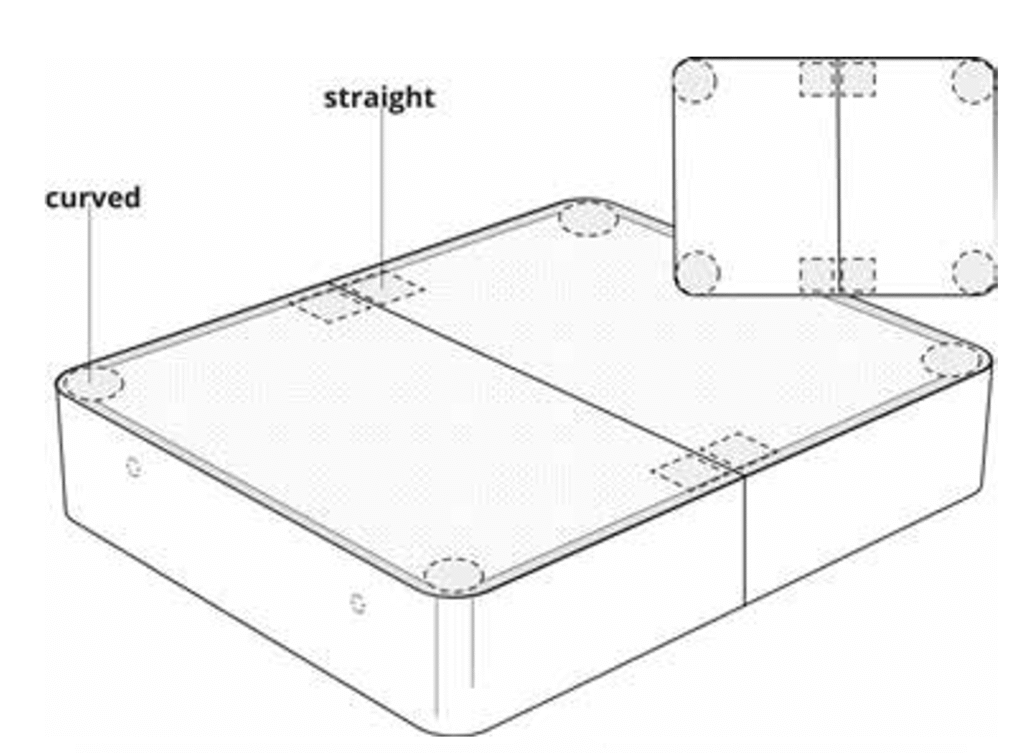
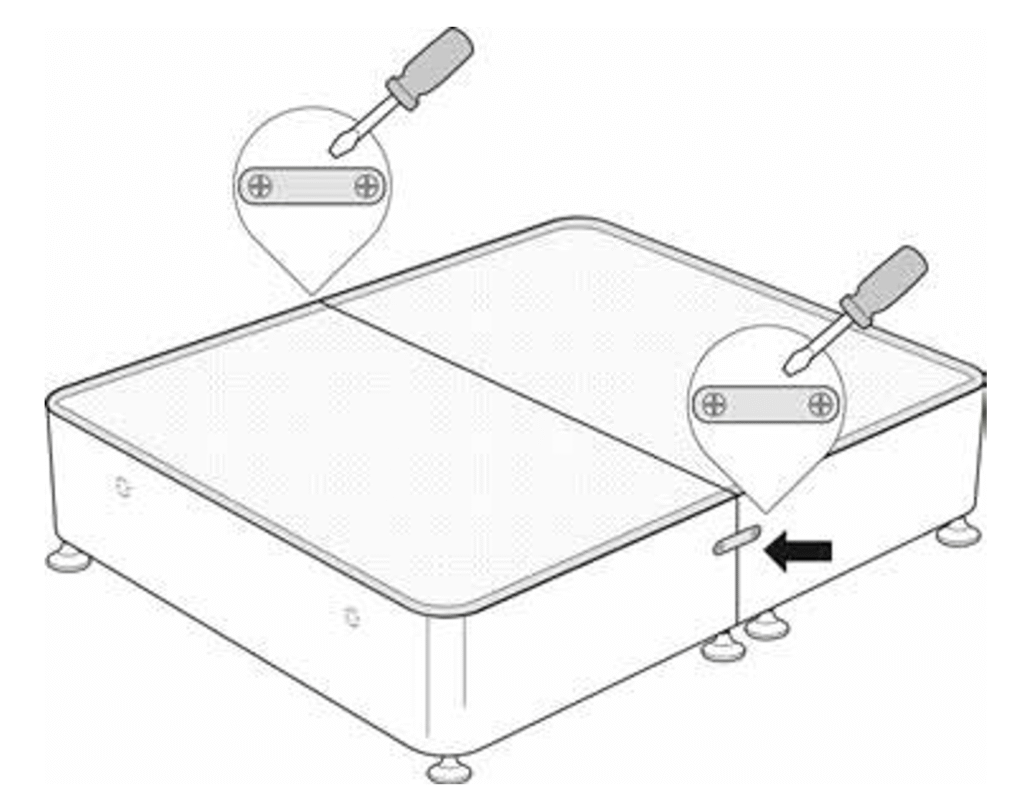
STEP 2: Join both halves of the base together using the two link clips provided. Ensure the square edges are adjacent. Space out each clip along the base.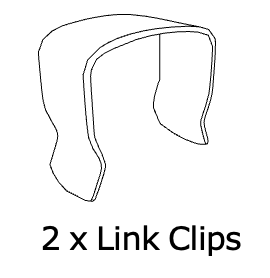
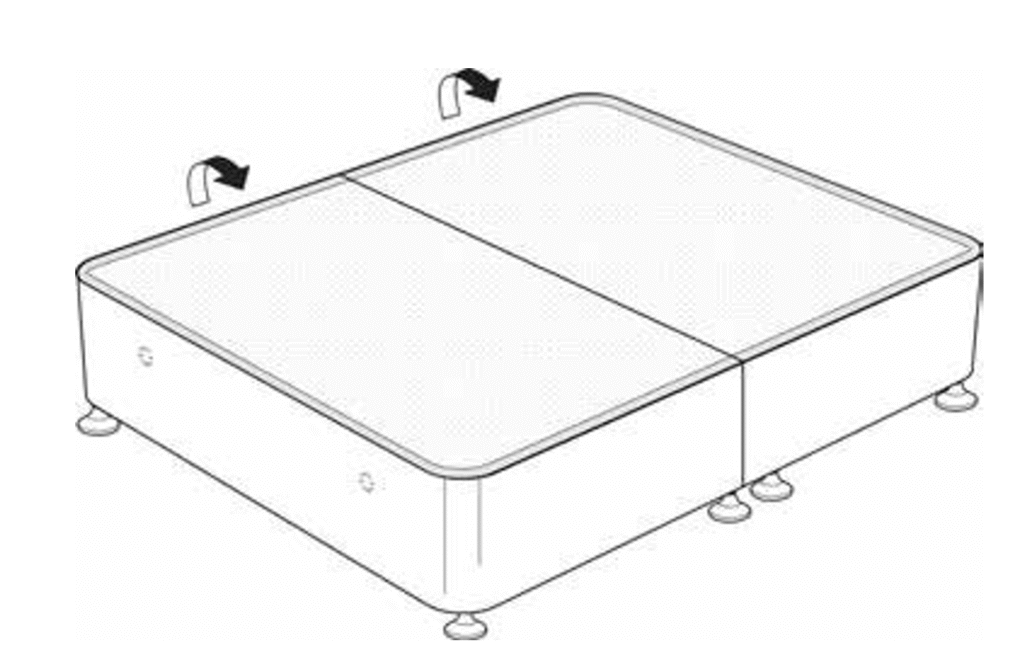
STEP 3: Join the two lid-frames together with the bolt provided under the lid. 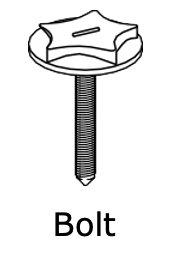
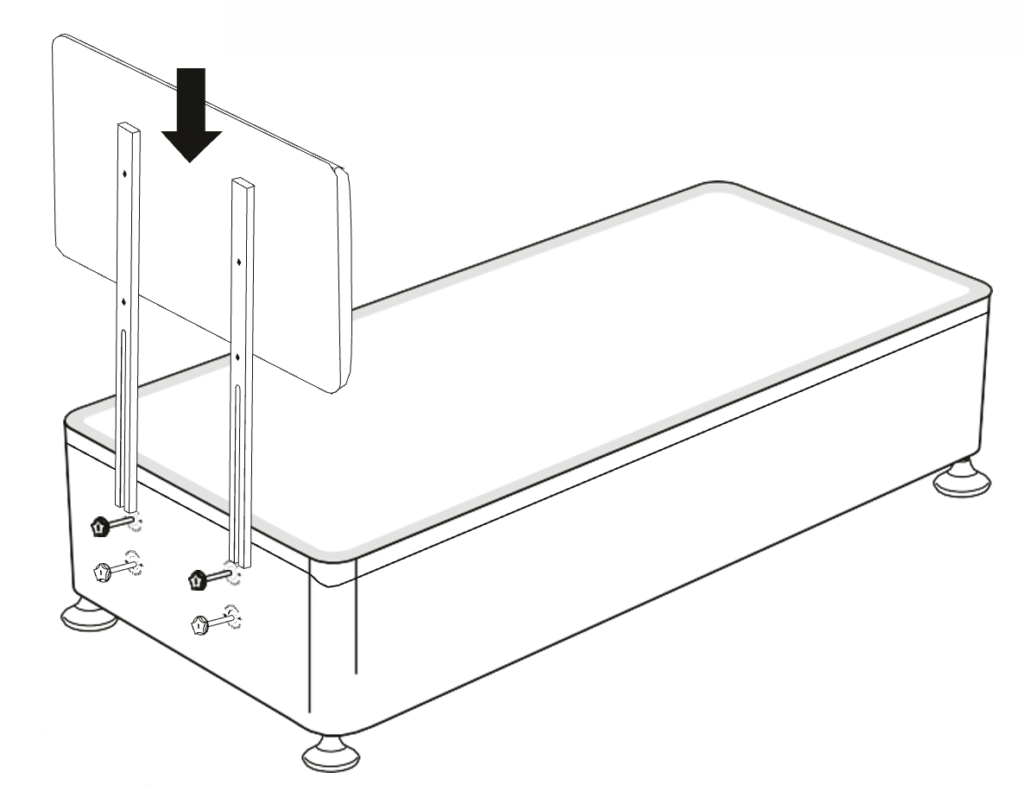
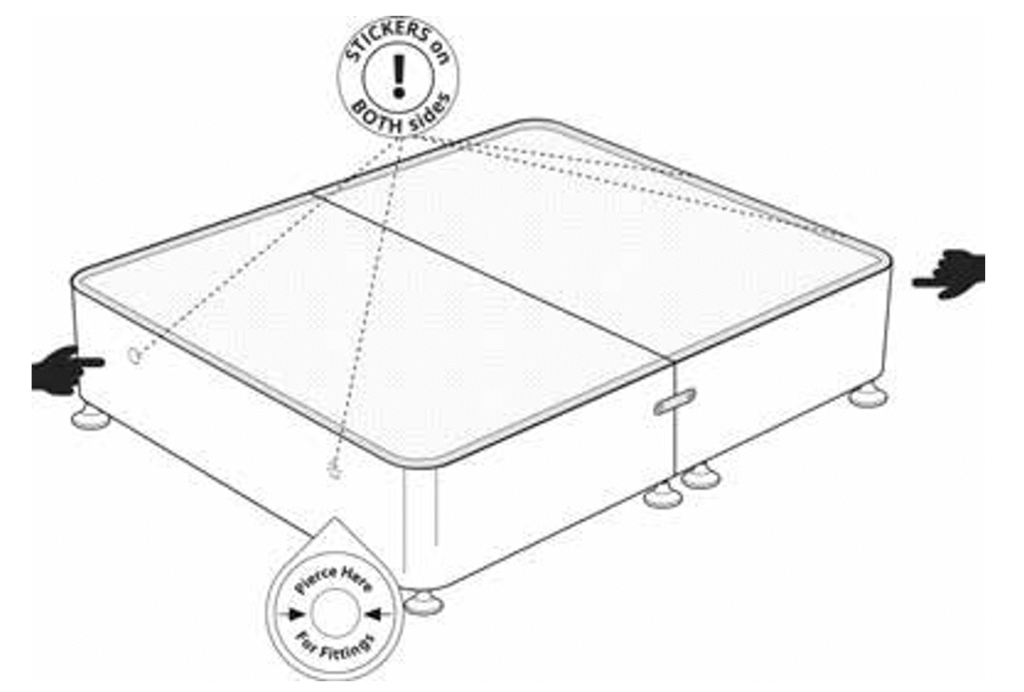
For the headboard struts fixing, please follow the instructions that came separately with the headboard.
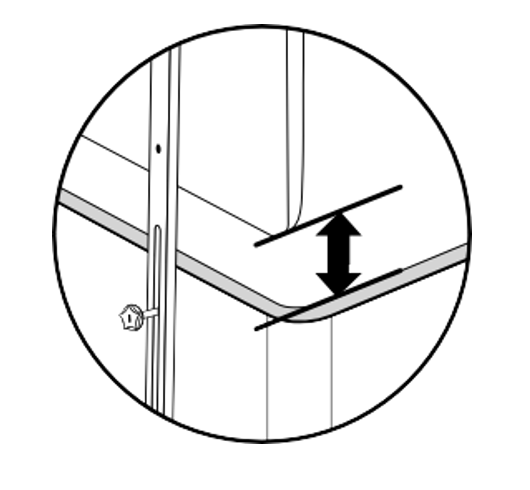
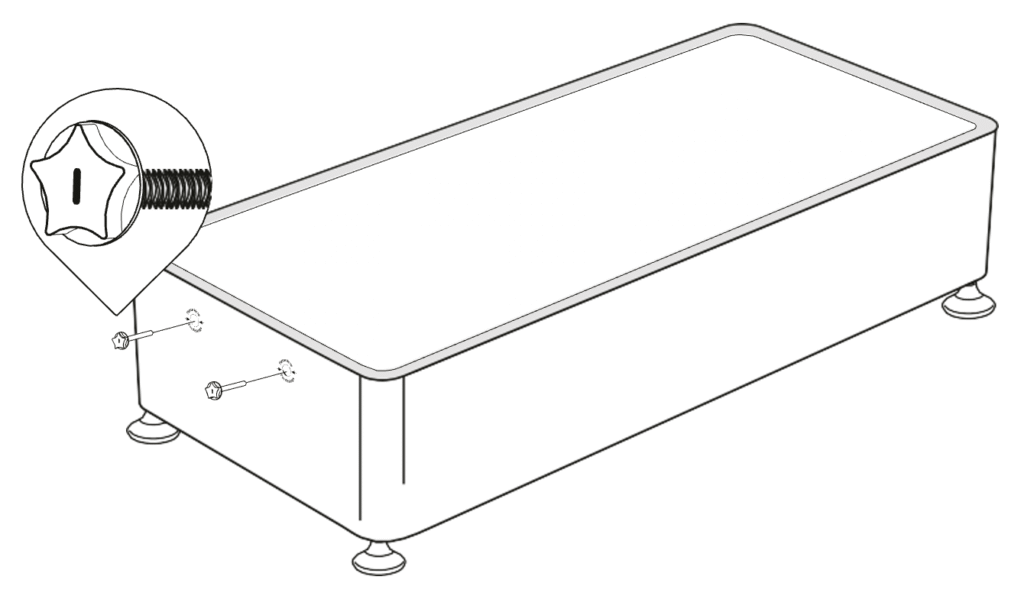
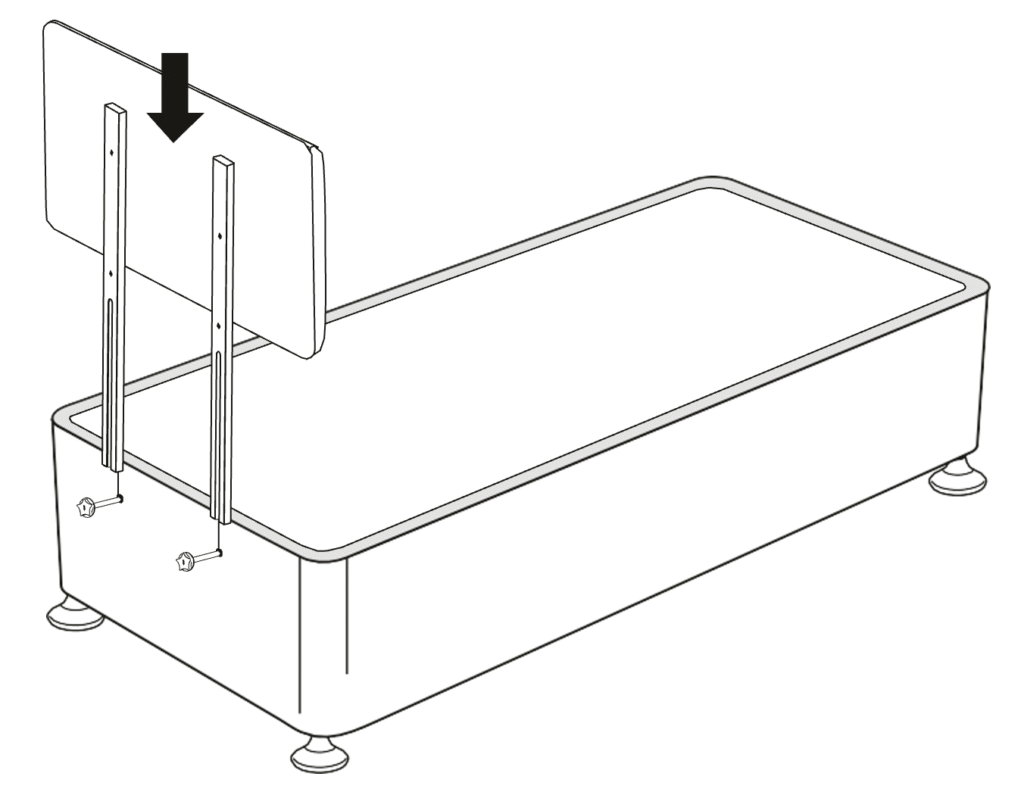
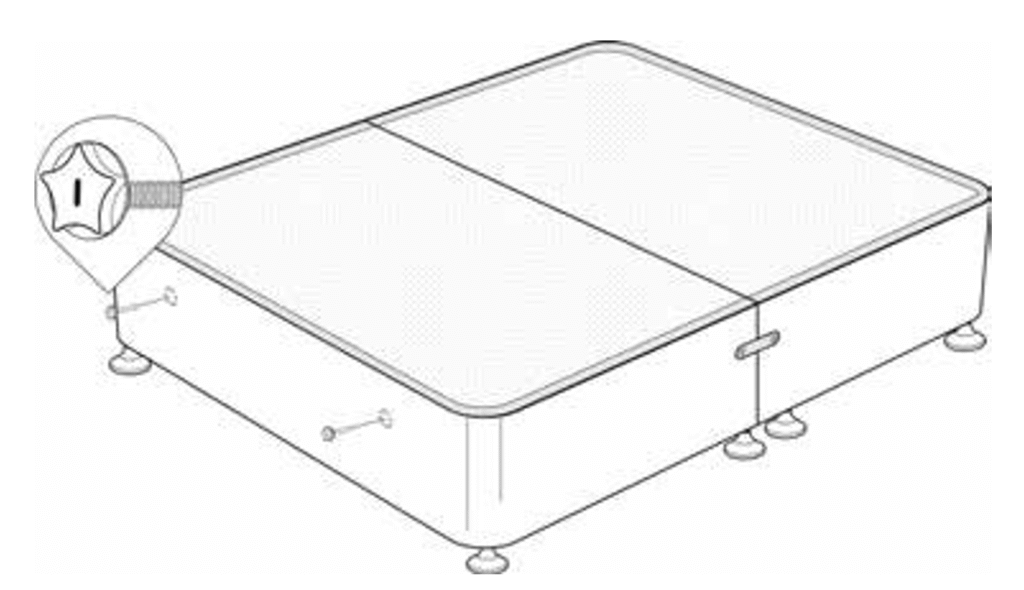
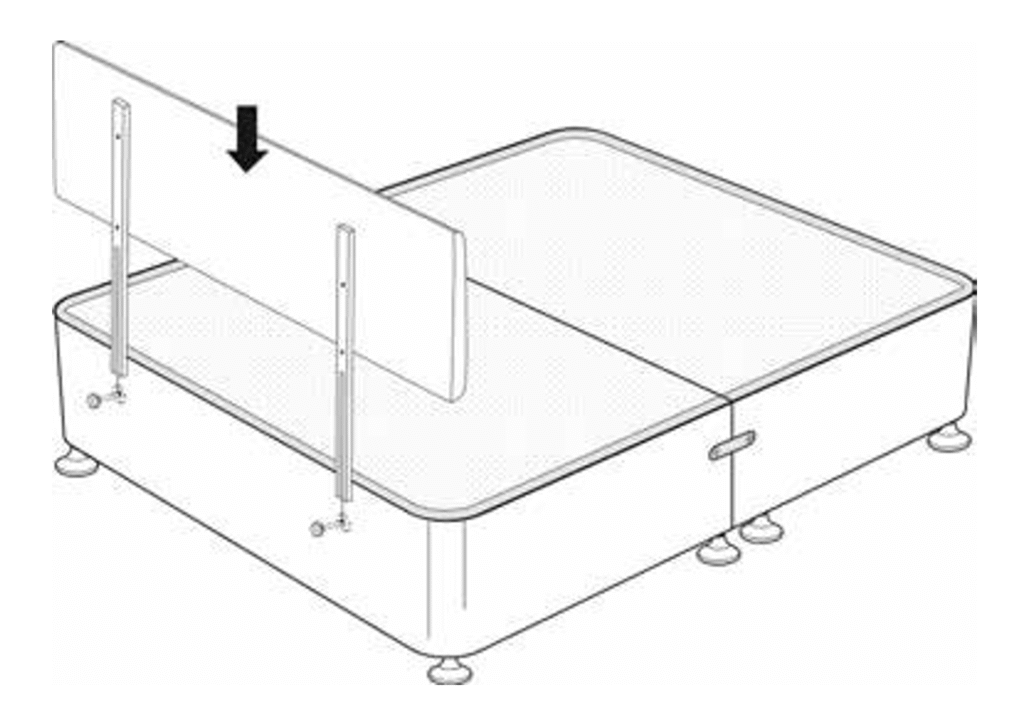
- Drop the headboard struts down over the headboard screws.
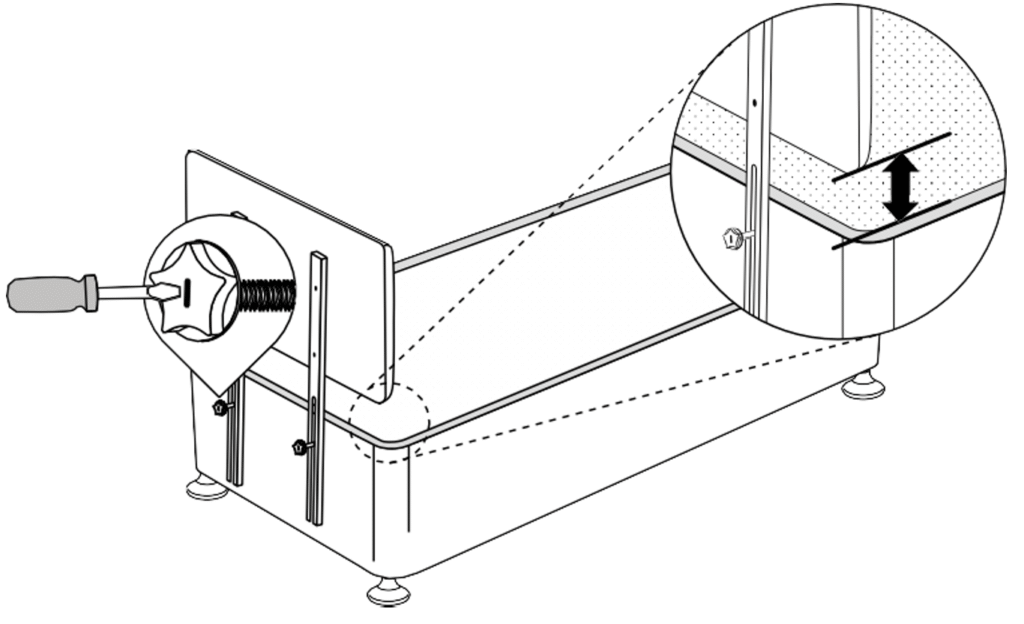
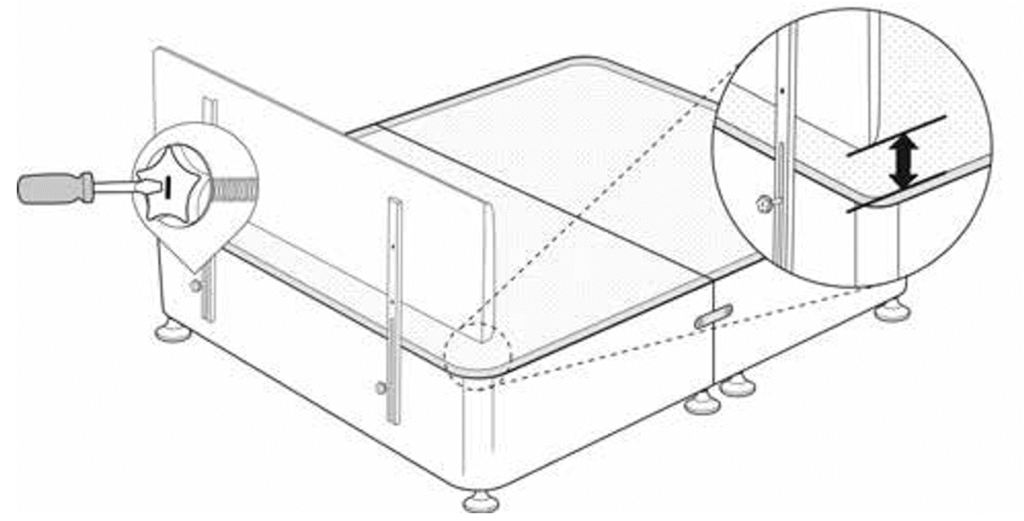
- Once the headboard is at the desired height tighten the
headboard screws until the headboard is locked in place.
- Be sure to adjust the height of the headboard to allow for the depth of the mattress.